I finally had an excuse to crack open a Retaliator and also install their Stage 2 kit. Previously, I was feeling way too lazy to do it if I didn't have the sealed breech system.
These came in a while ago and I incorporated one of them into my Hammershot, but haven't had the time to post about it. Well without further delay, here they are:
Nylon spacer for stock/upgrade Retaliator springs: McMaster
The McMaster spacer shown in Fig. E8.2 is
the longer, 1/2 in. length one. These lengthier ones will work perfectly
with stock Maverick springs (also shown in the same picture). Whether
this spacer will work with the upgrade Maverick springs is untested and
unknown. It may be possible to use these spacers with stock/upgrade
Retaliator springs. But because the spacer is so long, it becomes very
difficult to push the nested springs inside the inner shell spring
housing. I seem to recall catch issues with this setup as well, or maybe
it is because I thought the blaster will break with the setup that I
refrained from this build. The stock/upgrade Retaliator spacer I linked
above is 3/8 in. in length. I have not tested this spacer length myself
but I am confident that this spacer, along with using a stock Retaliator
spring as the outer nest spring will be the perfect build for most
people. More specifically, this setup should still be very prime-able
with one thumb/hand while maintaining a good balance of power,
reliability and durability. If you want to experiment various spacer
lengths with various springs, we recommend getting the longer spacers
(the ones linked for stock Maverick springs) and shaving them down to
the desired length for experimentation/modification.
The pre-made
McMasters spacers are pretty much ready to install right out of the
box. Here is an example of a completely unmodified McMaster spacer in
the Hammershot:
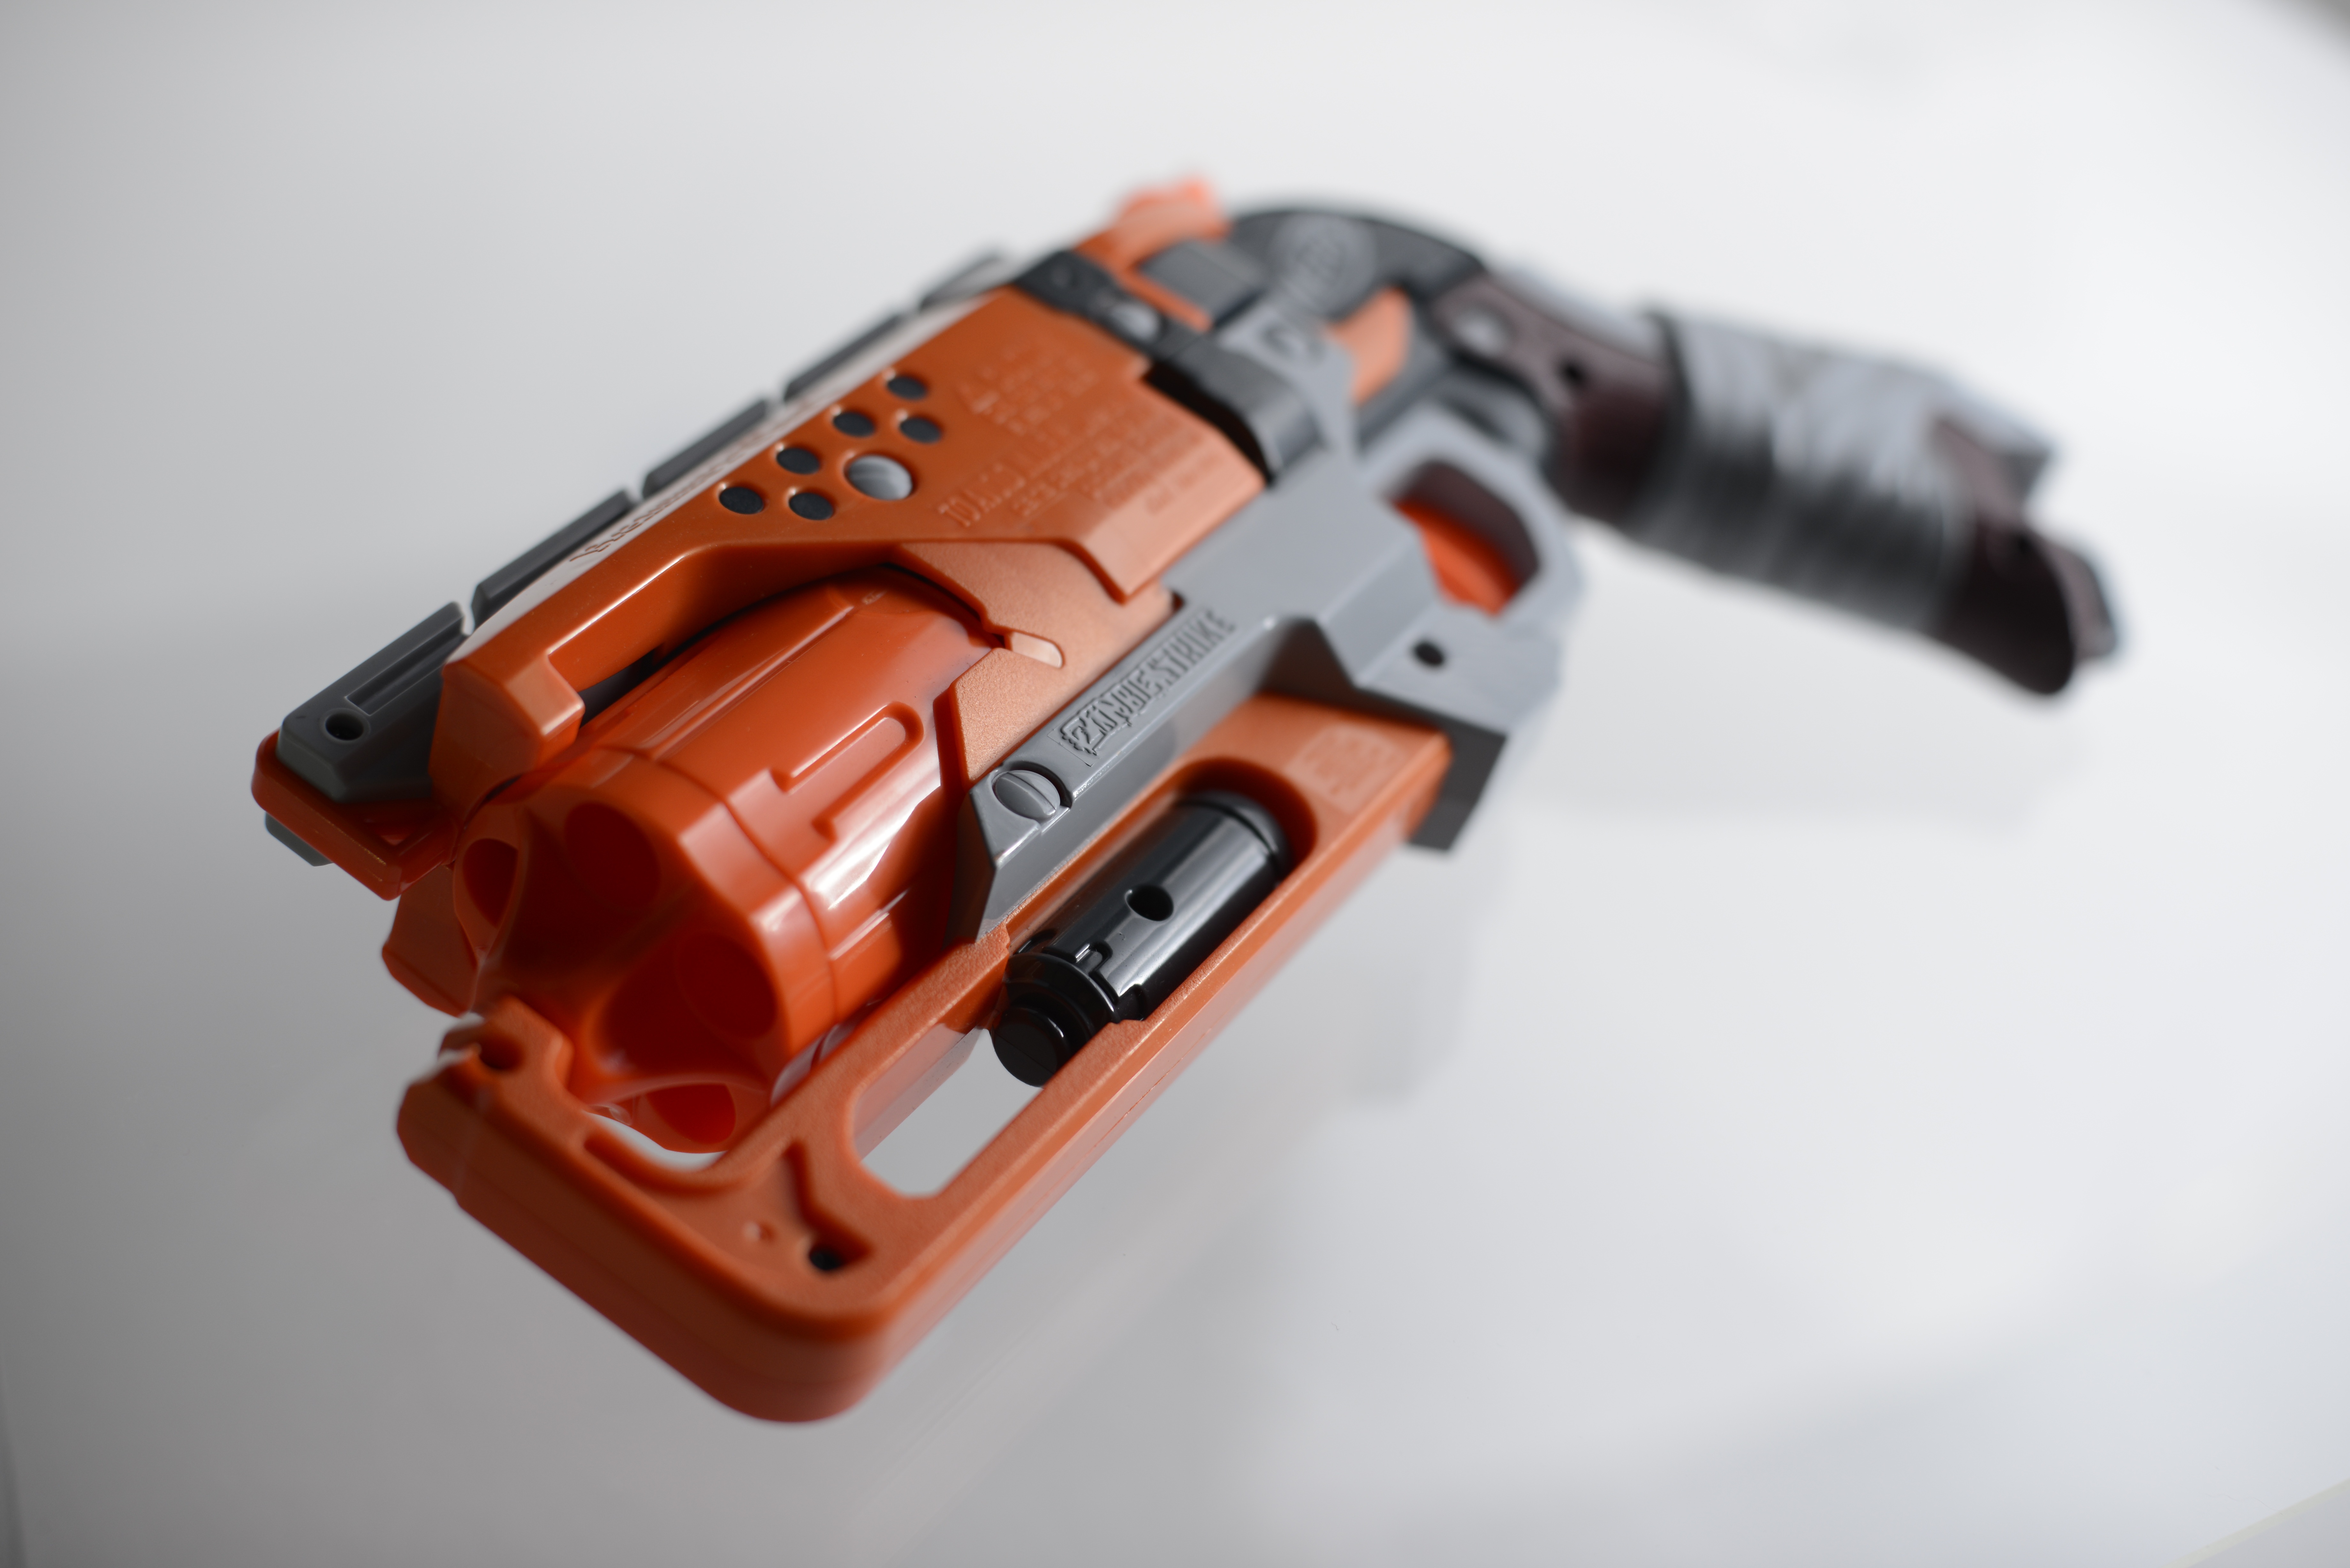
Welcome to the Hammershot's edition of The Works Guide. This guide aims to cover modifications to the Nerf Zombie Strike Hammershot. While it is not a complete guide to this relatively new blaster, it will attempt to cover several facets of direct plunger modifications as they apply to the Hammershot.
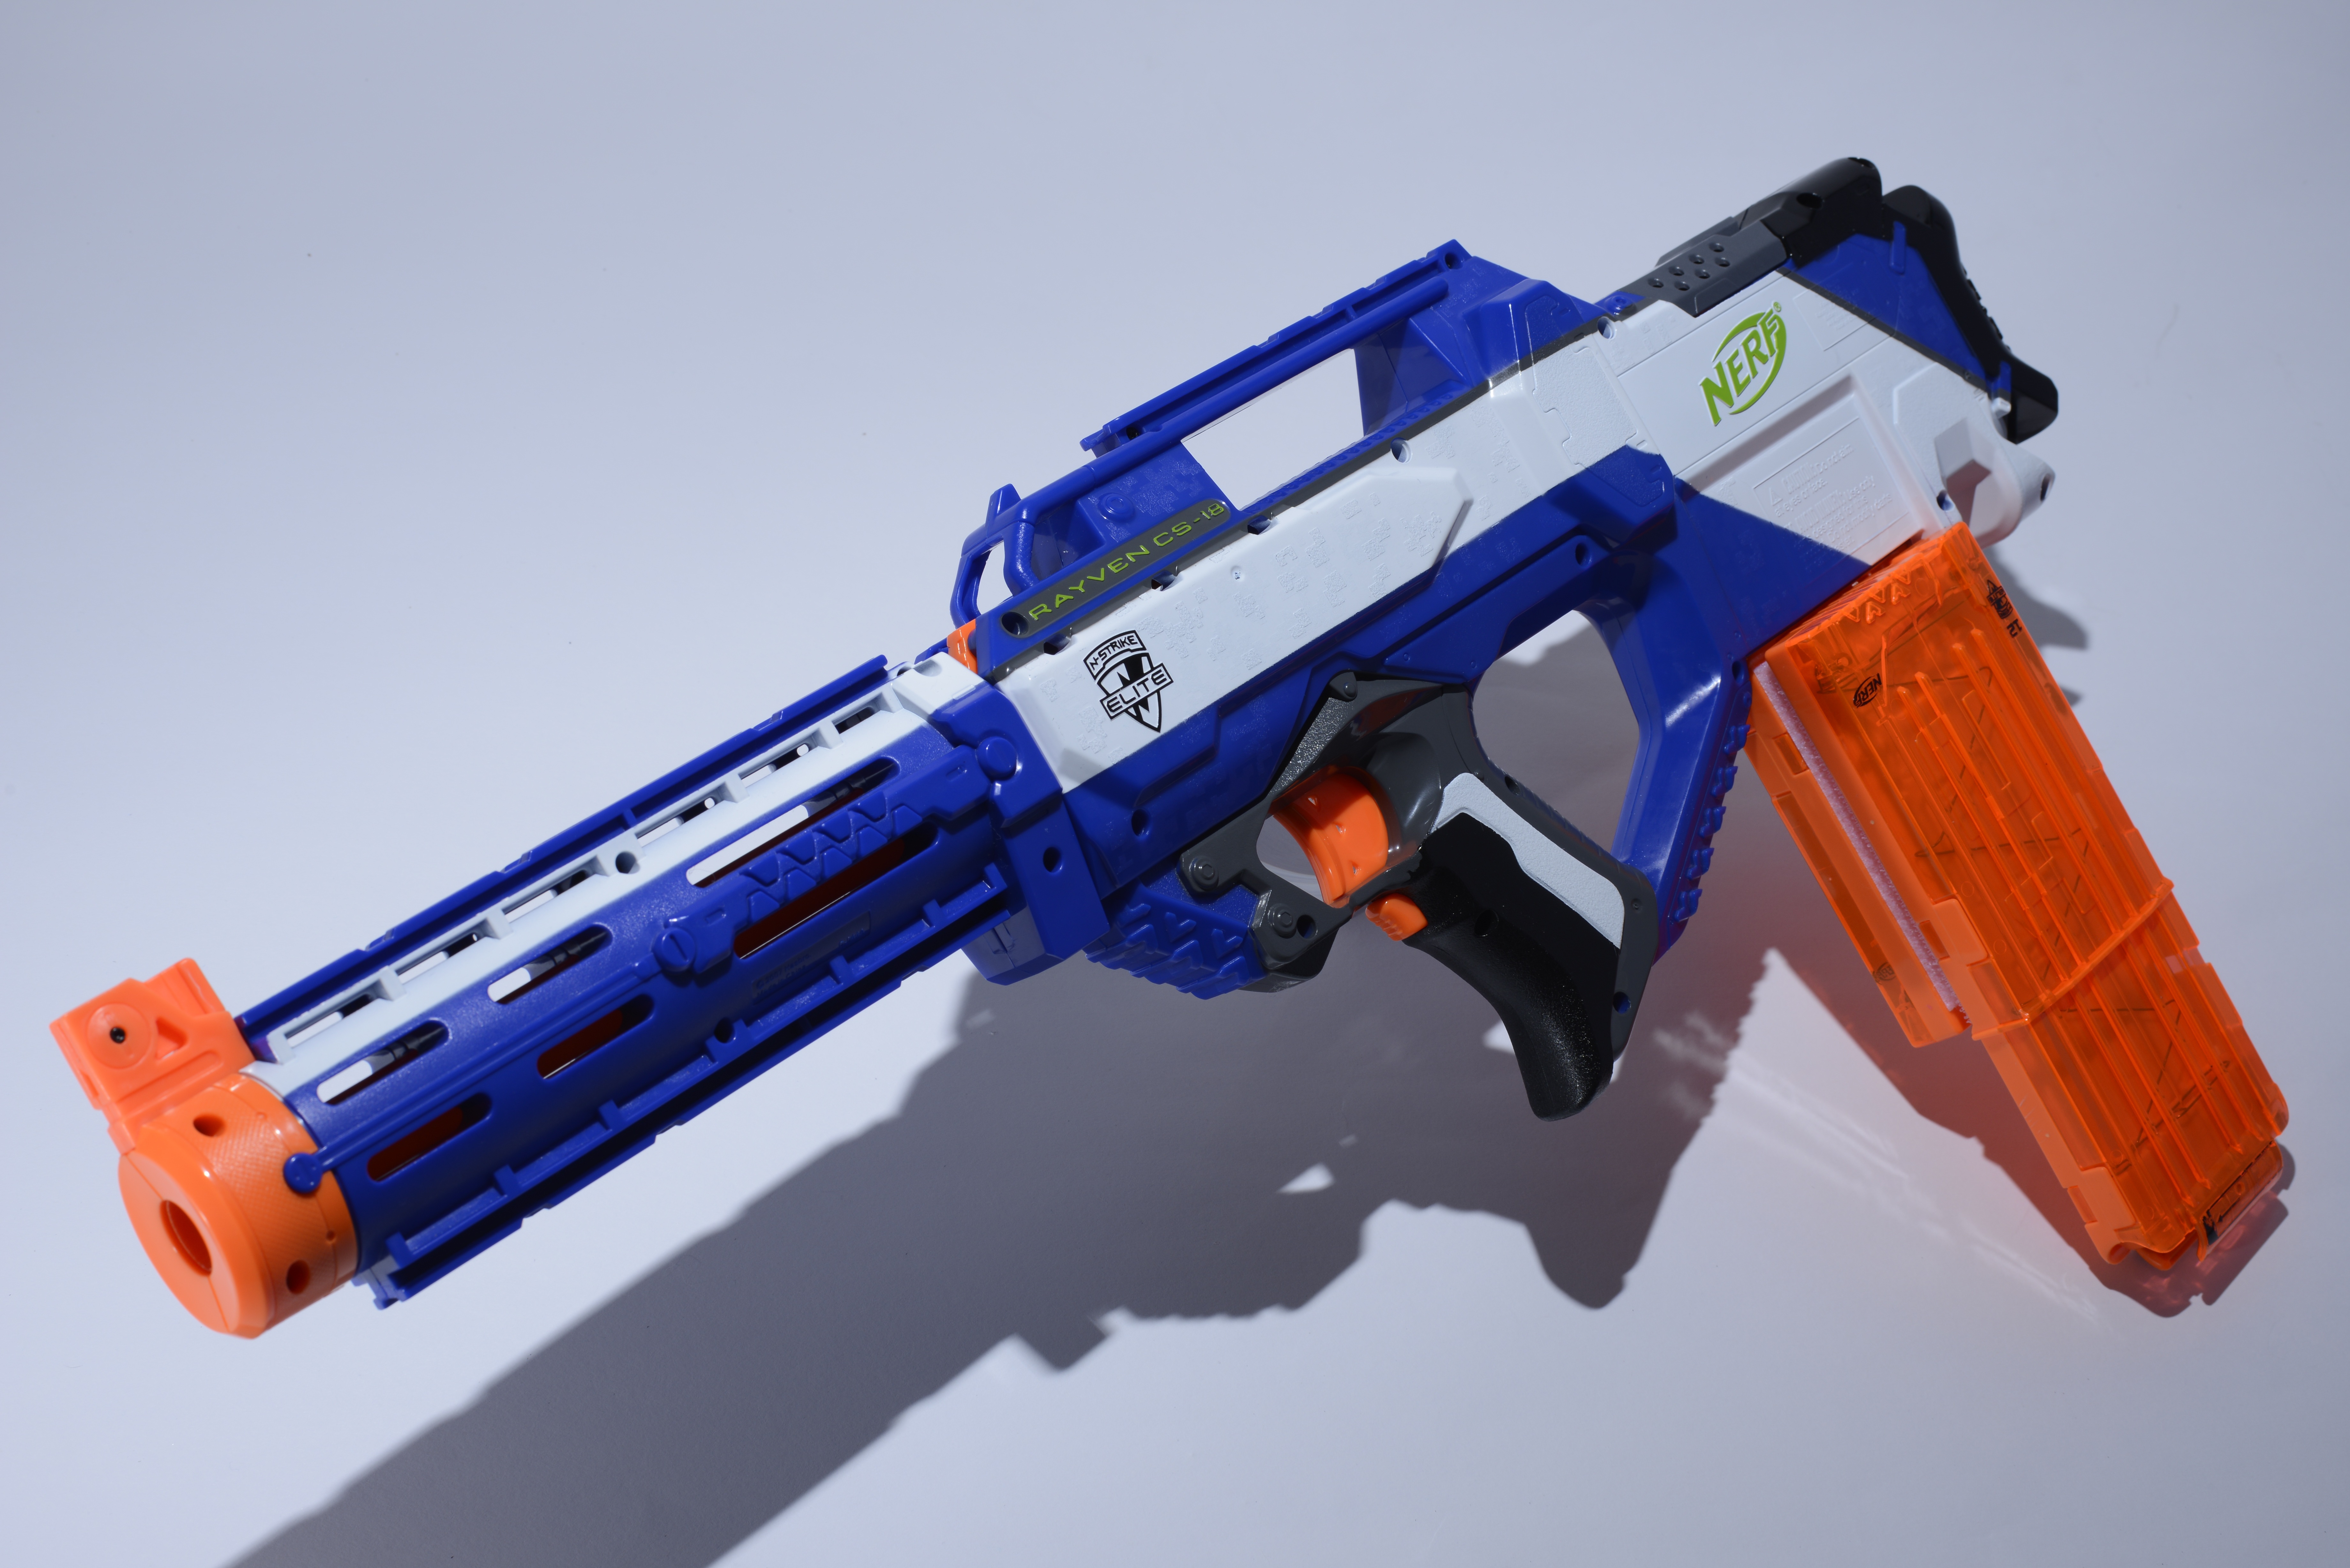
Welcome
to the Rayven's edition of The Works Guide series. This guide will
cover a complete rebuild of the Nerf Rayven blaster's electrical
system. Instead of using simple contact switches, a relay system will
be implemented to allow higher current limitations for aftermarket
motors. This guide will also go through the motor and battery
replacement process, as well as removal of all locks and other
optional upgrades.